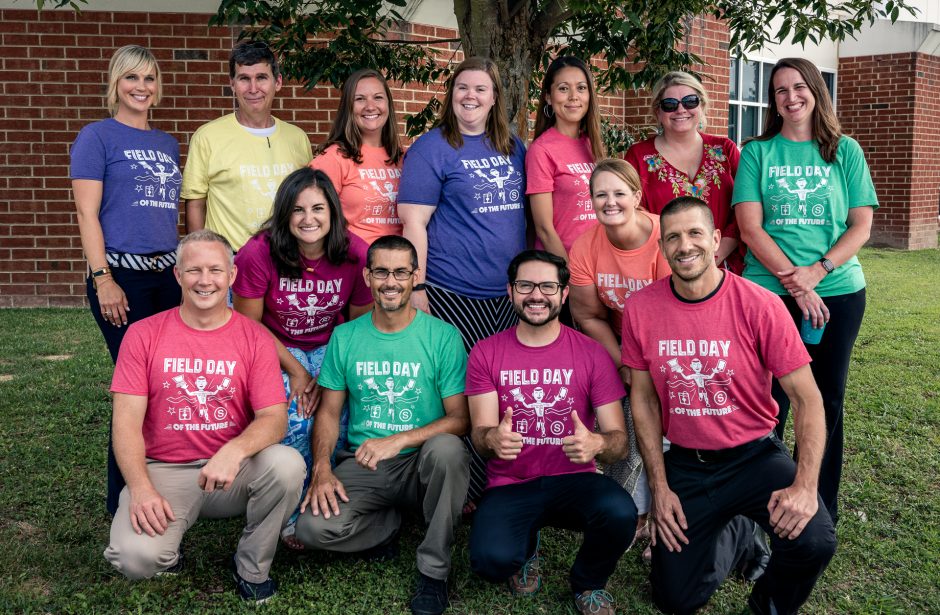
From Mr. Jimbo Covais…. a local SUPERHERO
Back, Back, Back it up!! There are a few different ways to transfer files from your Mac to the new Dell. Everyone has their preference as to which way is “the best.” In a future post, we will discuss the best ways for converting files, but for this post, rock star ITRT, Jim Covais, details 5 different ways to specifically backup your files from your Mac, so you can transfer them over to your Dell. Choose the way that is best for you. If you need help with any of these please contact me. I’m here to help.
The first thing you will need to do before you transfer your files, is determine how big your files are. Click on the file or folder one time. Now click File > Get Info
Here are the different file sizes from smallest to largest:
KB > MB > GB > TB
Ways to Transfer Your Files
Flash Drive
Flash Drives work on both a Mac and Dell. This would be the best option for you if the size of your files is relatively small. The price of flash drives have come down dramatically. I just checked Walmart’s website and I found a 32GB flash drive for $20.48.
Just connect the flash drive and drag the files you want to the drive. Now connect it to the Dell and drag the files to the Desktop, super easy!
External Hard Drive
External Hard drives work on both a Mac and a Dell. When buying one make sure it is compatible with Windows and Mac. This is a great option for those of you that have a lot of files. Another quick search on Walmart’s website showed a 500GB external hard drive for $51.99.
Just connect the external hard drive to the Dell to have it connect. When you first connect to your Mac, you may need to download a program to format it to the Mac. Once finished, simply drag the files you want to the drive. Now connect it to the Dell and drag the files to the Desktop.
Dropbox
Dropbox is useful to have not only for transferring files but to backup important documents. When you create a free account with dropbox a program is installed on your computer that creates a folder called “Dropbox.” Anything placed in this folder is automatically uploaded to Dropbox.com. The really cool thing about Dropbox is that if you install the program on another computer the files appears on that computer as well automatically.
The basic free account starts with only 2GB. The space can be increased by performing a variety of tasks, with no cost to you. Click Here for a free Dropbox account.
Box
Box works similar to Dropbox. The biggest difference is that Box is offering 50GB of space. I know I didn’t believe it at first when Tyler Hart told me. Go to Box today and sign up.
Google Drive
Google Drive is by far my favorite way to transfer and backup files. All HCPS employees have a Google Drive account with 30GB of space. That’s 15 times larger than the standard Dropbox account. Just go to http://drive.google.com to get started. Make sure you sign in with your Henrico account and not your personal gmail account.
Google drive is similar to Dropbox in the sense that you can download the program and it will create a folder on your computer called “Google Drive.” Anything placed in this folder is automatically uploaded to Google Drive online. The really cool thing about Google Drive is that if you install the program on another computer the files appears on that computer as well automatically.
Google Drive has many other features including creating and editing documents. Any Google document does not count towards your 30GB space.
These are five great ways to backup and transfer your documents. Remember I along with the rest of the ITRT team are to help you through this process. Don’t hesitate to contact me if you need anything.


