
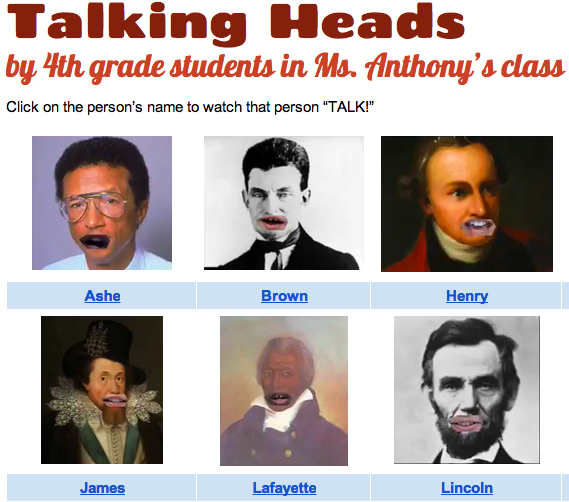
 Fourth graders at Holladay Elementary are reviewing all the famous Americans they have studied this year. Each student chose a person to research and they will present their information in a “Living Wax Museum” later on in the spring. I’ve been showing them different options to use for the technology part of their presentation, and today we learned how to make a “talking head.” I gave them a Keynote template that you can download by clicking here. The students went online to find a picture of their famous person (a headshot), and they dragged the picture onto their Keynote template. They sent the picture to the back (using the “Back” button in the toolbar), so that the shape with the hole cut out of it was on top. I showed them how to position the shape over the picture so that the mouth was centered in the hole. Next they selected both the shape and the picture (by clicking and dragging across them) and went to Format > Mask with Selected Shape. That left the picture of the famous person with a gaping hole where their mouth used to be. Now we were ready to add the students’ talking mouth to the picture to make it look like the famous person was doing the talking. Students recorded themselves in Photo Booth speaking like they were the famous American telling about his or her life and accomplishments. I told them to keep their heads still while they were recording (so the mouth wouldn’t move around). We dragged the finished videos out of Photo Booth onto the Keynote and sent them to the back with the “Back” button. We had to resize and reposition the video so that the mouth fit in the hole, and then we covered up the remaining pieces of video that showed with black shapes (using the “Shapes” tool). Finally, we exported the Keynote as a video and I published them on a GoogleDoc. You can see them all here.

