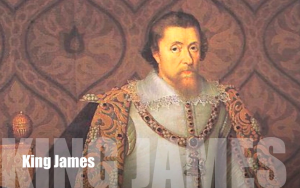
 Fourth graders in Ms. Hall’s class at Laburnum Elementary recently took a field trip to Jamestown. Today she wanted to see how much they had learned there, and she also wanted them to practice using iMovie. I explained that our iMovie project would need to be completed within the one hour class period since iMovie projects cannot be saved to the student folders (if you want them to keep working on them, they have to get the same computer that they started with since the projects are saved to the hard drive). I explained that we didn’t expect perfect videos due to the time restraints, but I wanted them to learn as much as they could about the features of iMovie. First, in order to show them how iMovie can use both pictures and video, we did a Google image search to find pictures of Jamestown. I pointed out that they could search for other topics besides just “Jamestown.” They could search for important people, events, and resources as well. Once the students found four or five good pictures, they dragged them into their folders and imported them into iMovie (you can’t drag pictures directly from the Internet into iMovie). I also showed them how to adjust the Ken Burns effect using the cropping tool since some parts of their pictures were cut off. Next we added text to each picture and recorded a voiceover with additional details. I think their favorite part was adding the music soundtrack. A nice feature of iMovie is that it automatically lowers the volume of the soundtrack during the voiceover, but I also showed them how they could adjust it manually. Finally we added video at the end using the built-in webcam. We exported their projects as QuickTime videos and saved them to their folders. Now that they are familiar with the most important features of iMovie, they will be able to continue using it for future projects. You can see a student sample by clicking here.


